Ordering a Patron Meal
To order a meal for a patron:
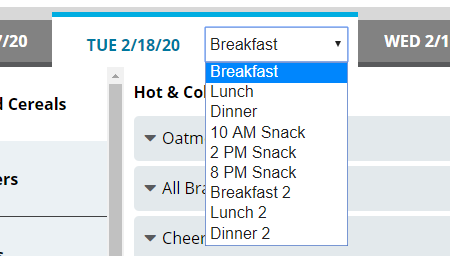
- On the patron record, select the date for which you want to order a patron meal.
- In the list, select the appropriate meal.
- To add a menu item to the patron's meal:
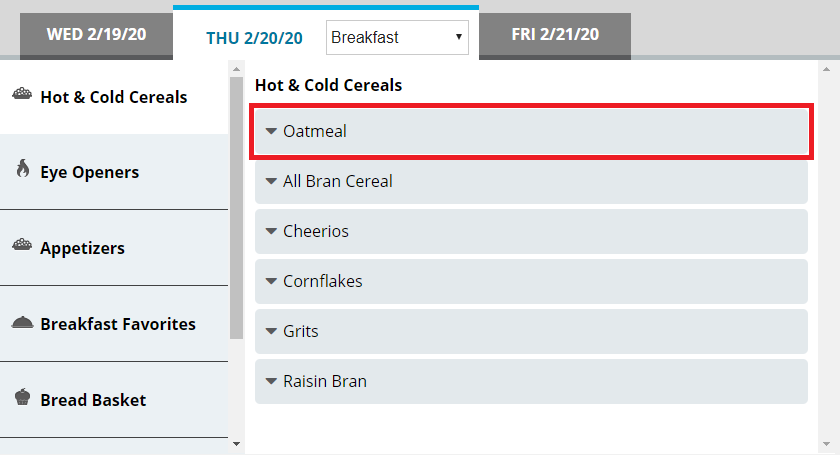
- On the left menu, select the category (publishing group) for which you want to view menu items.
- In the center section, select the menu item you want to add.
- If you want to increase of reduce the portion size to order, continue as follows:
- If you want to increase the portion size of the item, click
 .
. - If you want to reduce the portion size of the item, click
 .
.
- If you want to increase the portion size of the item, click
- Manage the selection as needed:
 To set a custom portion size for the selection
- Click
 to expand the menu item.
 - Click Custom Quantity.
- In the Custom Quantity box, enter the portion size of the item that you want to order for the patron.
- Click Save.
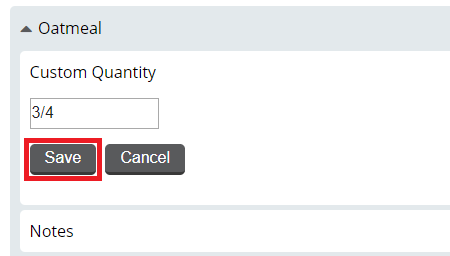
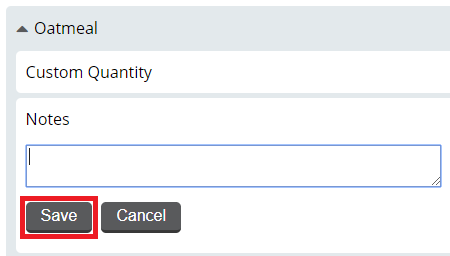
Tip: You can enter fractions of a portion either as a fraction (for example, 1/2) or as a decimal (for example, .5).To add a note for the selection- Click to expand the menu item.
- Click Notes.
- In the Notes box, enter the note you want to add.
- Click Save.
To view nutrients for the selection- Click to expand the menu item.
- Click View Nutrients. The option expands to display nutrient information for the menu item.
 To lock the selection
- Click to expand the menu item.
- Click Lock Item.
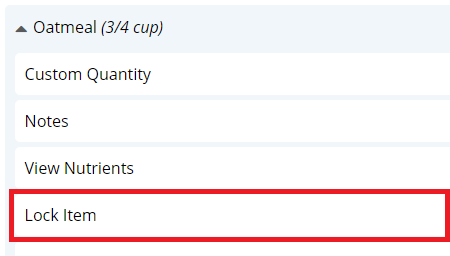
A lock icon displays next to the selection indicating it is locked.
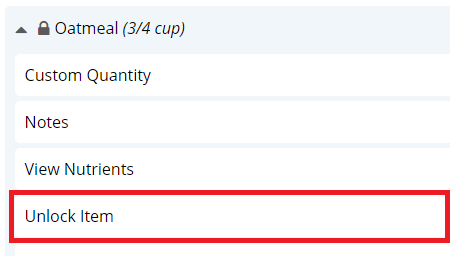
To unlock the selection- Click to expand the menu item.
- Click Unlock Item.
The lock icon is removed, indicating the item is unlocked.
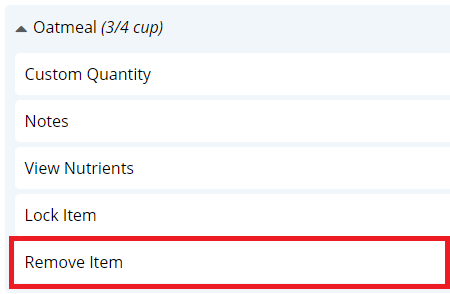
To remove the selection- Click to expand the menu item.
- Click Remove Item.
The selection is immediately removed from the Selected Items list.
- Click

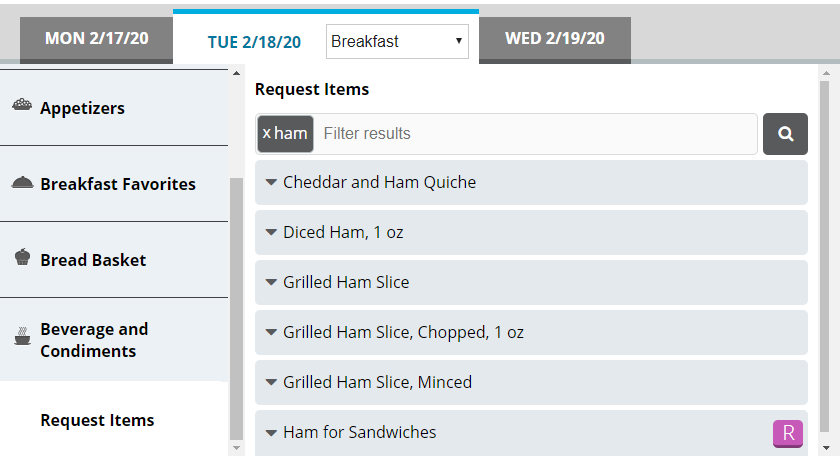
- To add a menu item not on the menu to the patron's meal:
- On the left menu, click Request Items.
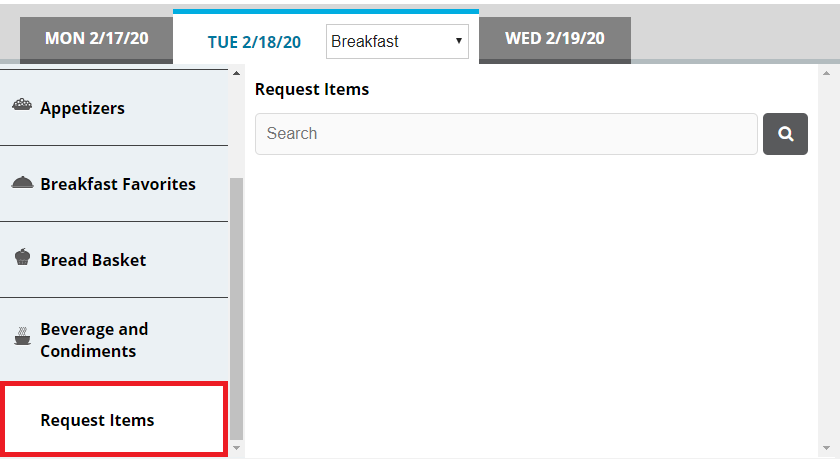
- In the search box, enter a keyword for the item for which you want to search.
- Click
 . You can also press Enter. The search results appear.
- If you want to filter the displayed search results, in the search box, enter an additional keyword with which to filter. The results filter as you type.
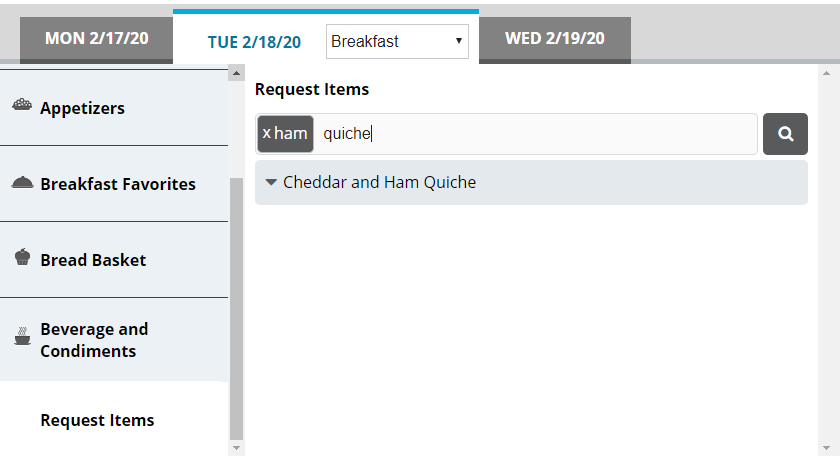
- From the results, select the request item you want to order. The item is added to the Selected Items list.
- On the left menu, click Request Items.
- Repeat steps 3–4 until all menu items you want to order have been added to the Selected Items list.
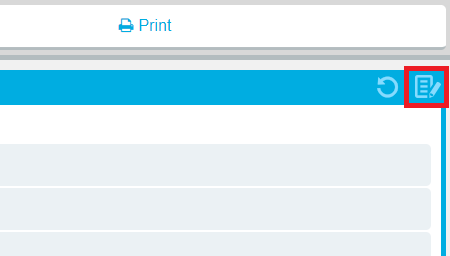
- If you want to add a note to the meal, continue as follows:
- In the top-right corner of the Selected Items list, click the add note icon. The Meal Notes dialog appears.
- In the box, enter the note you want to add for the meal.
- Click Save.
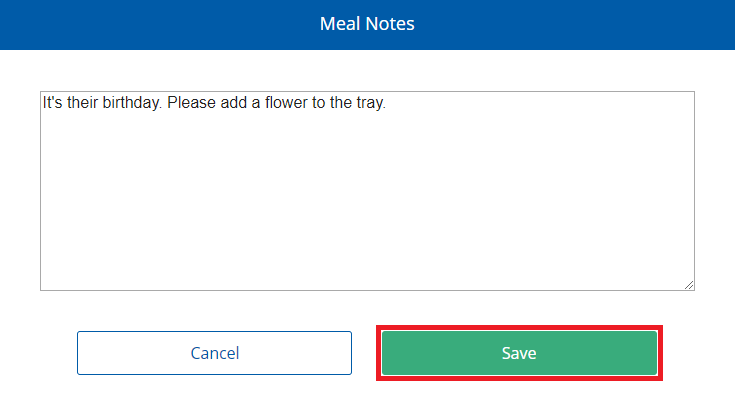 Tip: When a meal has a note added to it, a checkmark icon appears on the add note icon.
- In the top-right corner of the Selected Items list, click the add note icon. The Meal Notes dialog appears.
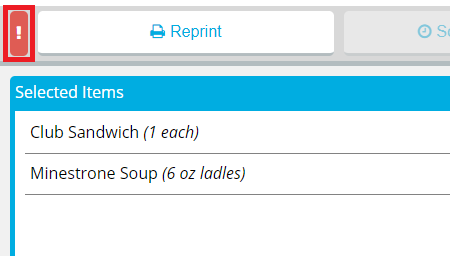
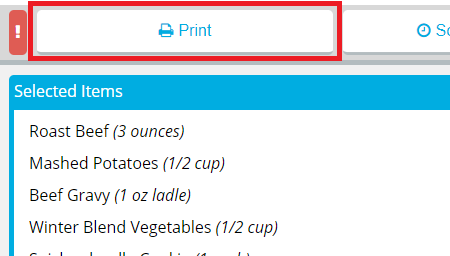
- When you are done making selections, order the meal as follows:To print a ticket immediatelyTo send a rush ticket
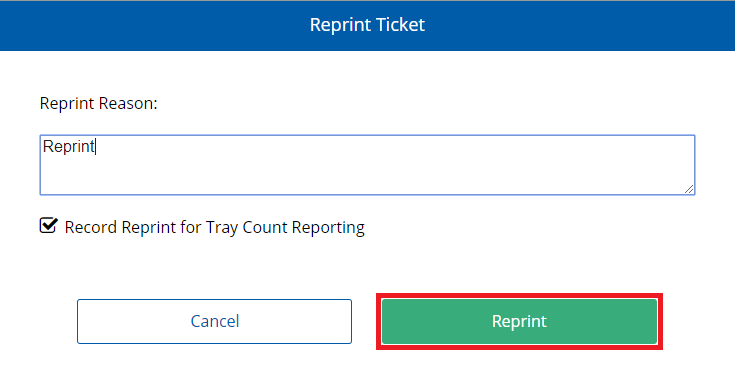
- If a ticket has already been printed for the meal, the Reprint Ticket dialog appears. Continue as follows:
- In the Reprint Reason box, enter a reason for why the ticket was reprinted.
- If you do not want the reprint to be recorded in tray count reports, click to clear Record Reprint for Tray Count Reporting.
- Click Reprint.
If a ticket has not yet been printed for the meal, it will be printed immediately.
To schedule meal delivery for a later time
- In the Schedule delivery for a specific time list, select the time you want the patron record to be delivered.
- Depending on the time you select, the ticket for the meal will be printed with enough lead time to ensure that the meal will be delivered at the selected time.
- If your facility uses Production Control, the number in parentheses is the number of delivery slots available at that time. If no slots are available, the time displays Full instead of a number.
- If the time slot you want to select is full and you still want to deliver at that time, click to select Override.
- Click Schedule Delivery.
- If you want to change the scheduled delivery time, repeat the previous steps, selecting a different available time.
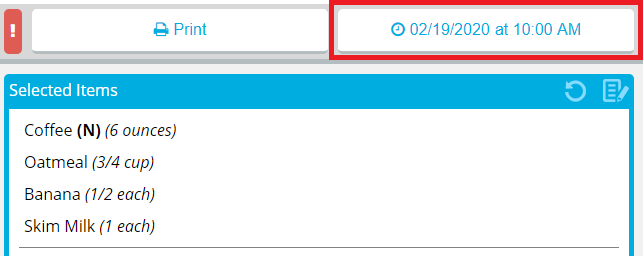
Notes:The Schedule Delivery button changes to display the current scheduled delivery time.
 Note: Printing the ticket when a delivery time is scheduled will cancel the scheduled delivery time.To reprint a ticket
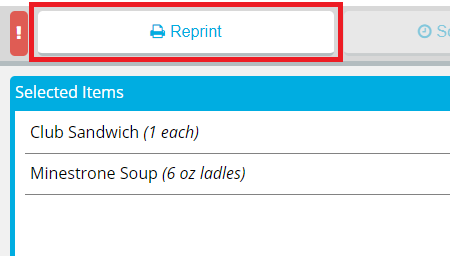
- In the Reprint Reason box, enter a reason for why the ticket was reprinted.
- If you do not want the reprint to be recorded in tray count reports, click to clear Record Reprint for Tray Count Reporting.
- Click Reprint.
- Set up additional trays as needed:
- If you want to order a meal for the patron's guest, continue to Ordering a Guest Meal.
- If you want to order additional trays for the patron, continue to Ordering the First Additional Tray for a Patron.
- When you are done ordering the meal, continue as follows:
- If in Call Center Mode, in the bottom-right corner, click Done.
- If in Bedside Mode, in the bottom-right corner, click Next Meal.
Tip: In Bedside mode, you can also switch to the first unordered meal for the next patron on the list If you opened the patron record from the Full Patron List, you will go to the next patron on the FPL. If you opened the patron record from a Saved Search, you will go to the next patron in the Saved Search., click the Next Patron  icon.
icon.