Closing a Requisition
You can close a requisition when you are ready to confirm the movement of inventory in the requisition. The closing process is the confirmation that all items with the specified quantities have been delivered to the cost center. Once closed, the information is saved in the inventory history, and reports can be run from Hospitality Suite. A requisition cannot be edited once it is closed.
Caution: Any items in a requisition with a quantity of zero (0) will be automatically deleted during the close process. Be sure that all information is accurate before closing the requisition.
Tip: Closed requisitions and inventory history can be deleted using System Maintenance in Hospitality Suite.
To close a requisition:
- On the navigation bar, click Requisitions.
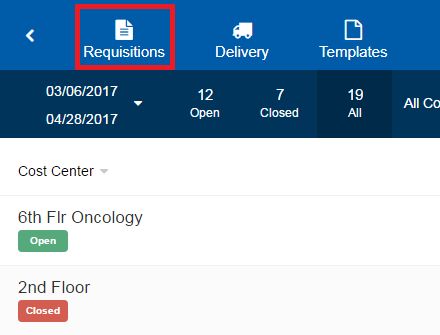
- On the Requisitions page, select the open requisition you want to close. The page for that requisition opens.
- Under Size, confirm the issue size of each item.
- In the Quantity box for each item, add the quantity that was received.
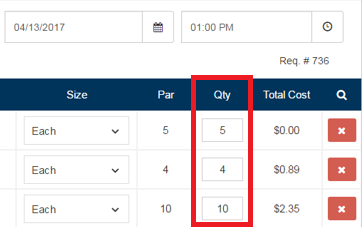 Note: The quantity represents what is delivered to the cost center. As the quantity is filled, the total cost for the delivered item will adjust accordingly. The total requisition cost is the sum of all item total costs on the requisition. If a markup should be applied to a cost center, the total item cost and the total requisition cost will include the markup. A notation will notify you of the markup % applied.
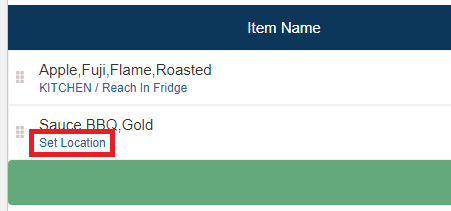
 - If perpetual inventory tracking is enabled, continue as follows:
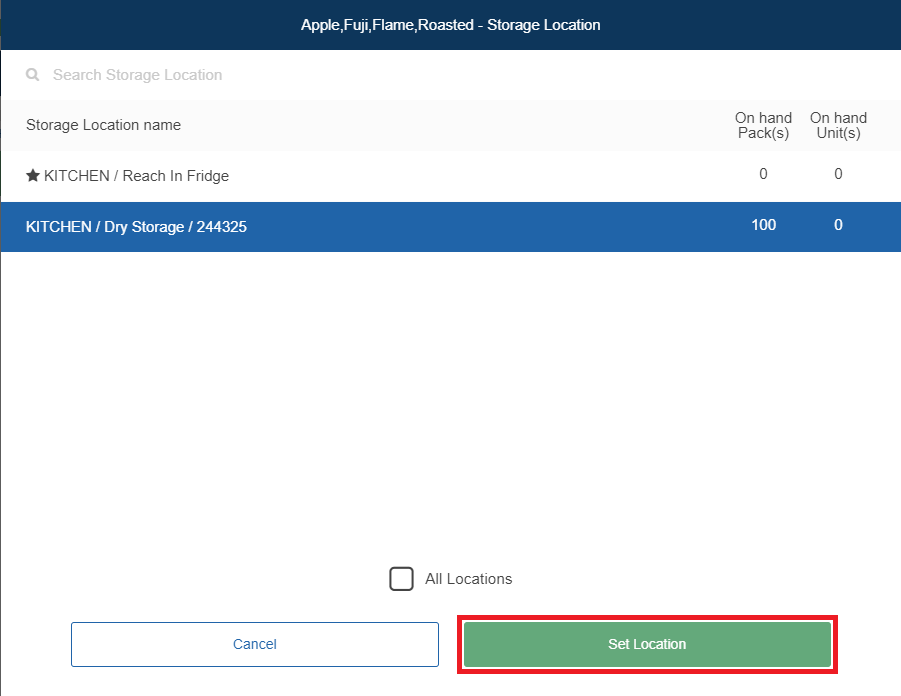
- Click Set Location. The Item Name - Storage Location dialog appears.
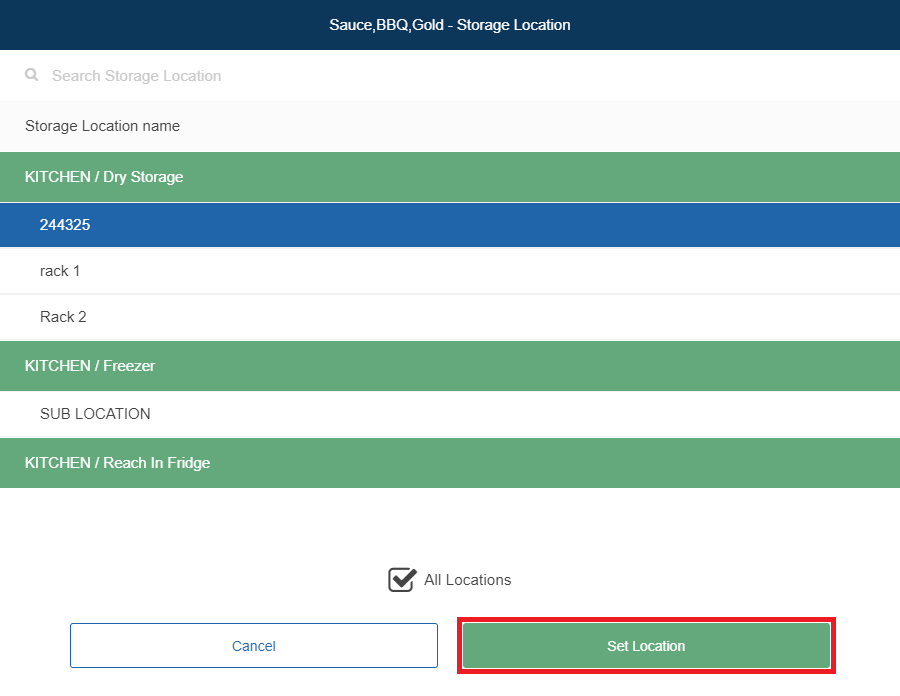
- If you do not want to view the storage locations the item is current assigned to, click to clear All Locations.
- If you want to filter the available storage locations, in the Search Storage Location box, enter the storage location for which you want to filter. The displayed storage locations filter based on the keyword(s) you enter.
- Select the storage location for the item.
- Click Set Location.
- Click Set Location. The Item Name - Storage Location dialog appears.
- Click Close Requisition.
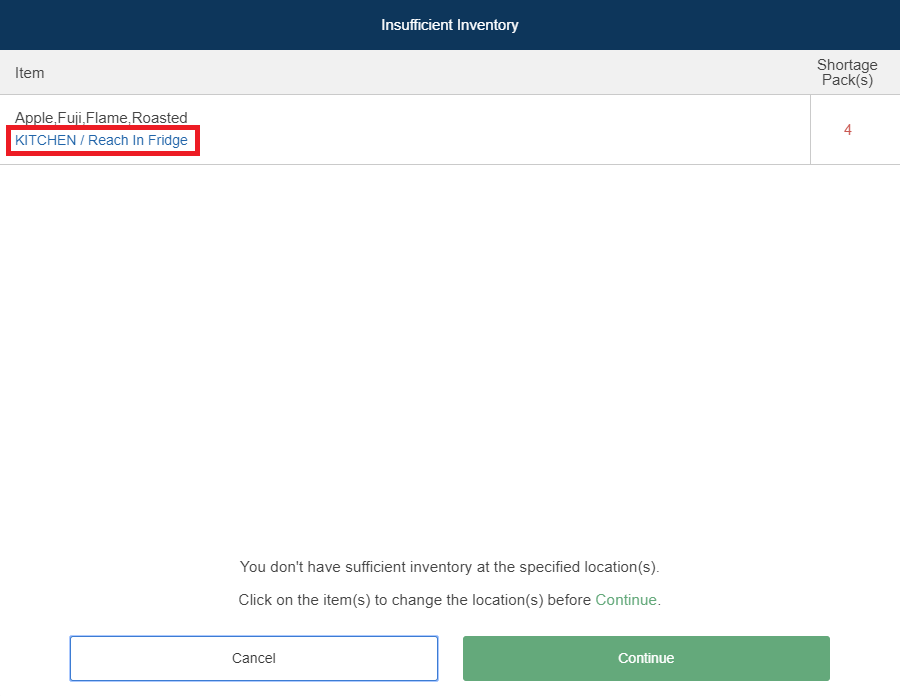
- If there is insufficient inventory for the item in the selected storage location, the Insufficient Inventory dialog appears. Continue as follows for each item with insufficient inventory:
- Click the selected storage location for the item. The Item - Storage Location dialog appears.
- Select a storage location with sufficient on-hand inventory for the item.
- Click Set Location.
- Click the selected storage location for the item. The Item - Storage Location dialog appears.
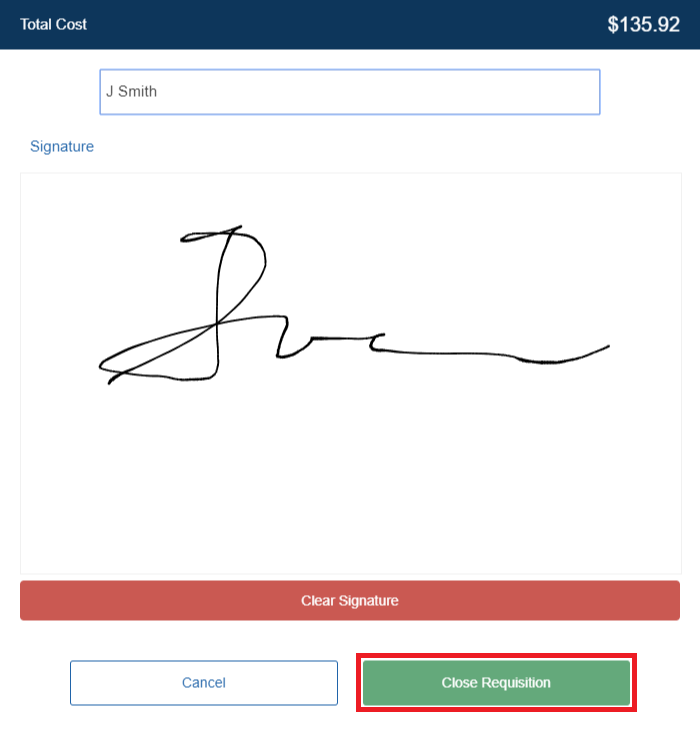
- If a signature is required, the signature dialog appears. Continue as follows:
- In the Recipient name box, enter your name.
- In the Signature field, sign your name using a stylus, your finger, or the mouse.
- Click Close Requisition.
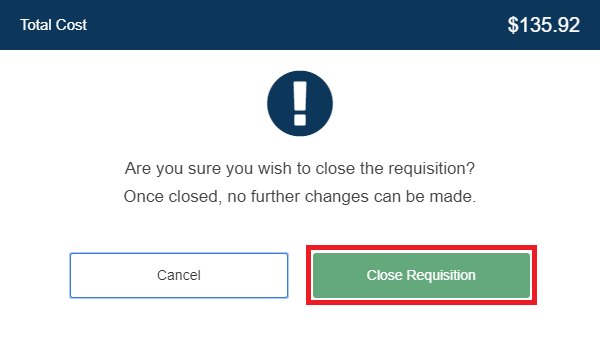
- If no signature is required, a confirmation message appears. Click Close Requisition.
The requisition details page appears.
Note: If there is insufficient inventory in the selected storage location selected, the Insufficient Inventory dialog appears. From here, you can change the storage location. If you do not select another location, the selected storage location will then show a negative quantity.