Creating a Requisition
To create a new requisition:
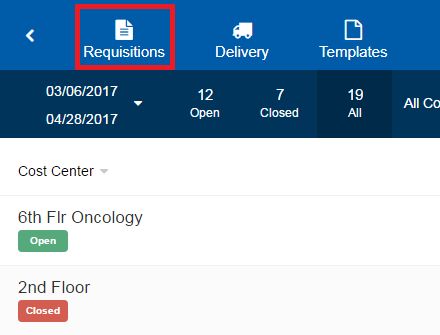
- On the navigation bar, click Requisitions.
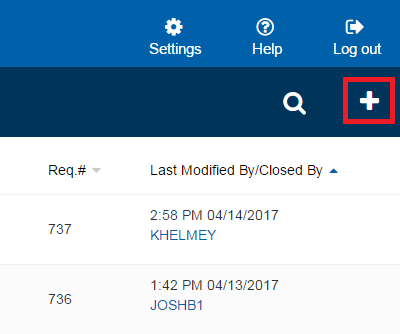
- Click .
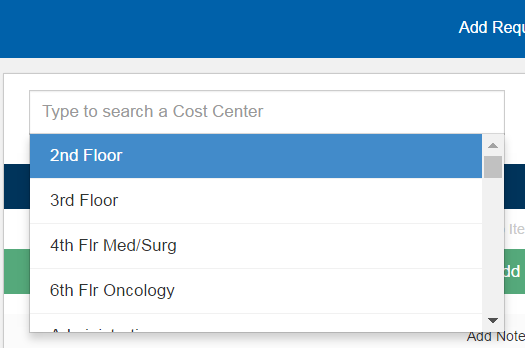
- In the Type to search a Cost Center list, type or select a cost center for the new requisition.
- In the date box, type or select the requisition date.
- In the time box, type or select the requisition time.
- If you want to create the requisition without applying a template, in the Type to search a template list, leave Free Form selected.
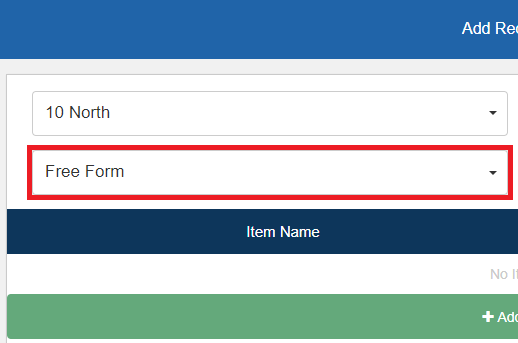
- If you want to apply a template to the new requisition, in the Type to search a Template list, type or select the appropriate template.
- Manage items in the requisition as follows:
 To add an item
- Click Add Item. The Type to search an item box appears in a new row at the bottom of the requisition.
- In the Type to search an item box, enter keyword(s) for the item you want to add. After entering three characters, search results appear based on the keyword(s) you enter.
- Select the item you want to add from the search results.
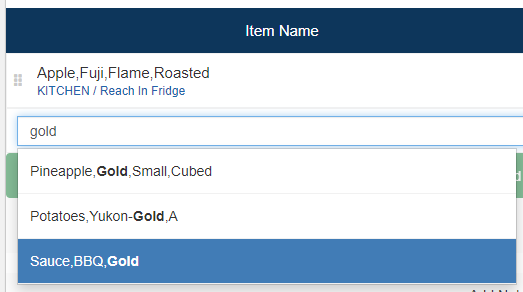
A new item line appears in the requisition for the selected item.
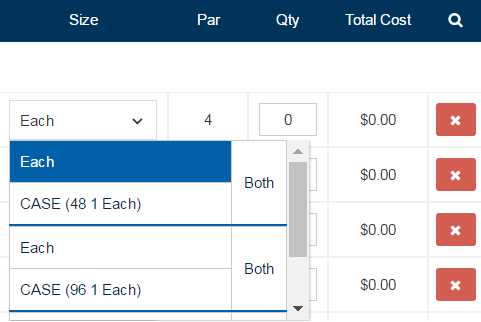
- In the Size list, select the issue size of the item.
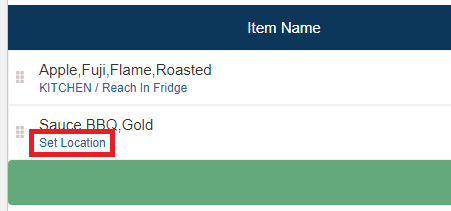
- If you are using a perpetual inventory system, set the storage location as follows:
- Click Set Location. The Item Name - Storage Location dialog appears.
- If you do not want to view the storage locations the item is current assigned to, click to clear All Locations.
- If you want to filter the available storage locations, in the Search Storage Location box, enter the storage location for which you want to filter. The displayed storage locations filter based on the keyword(s) you enter.
- Select the storage location for the item.
- Click Set Location.
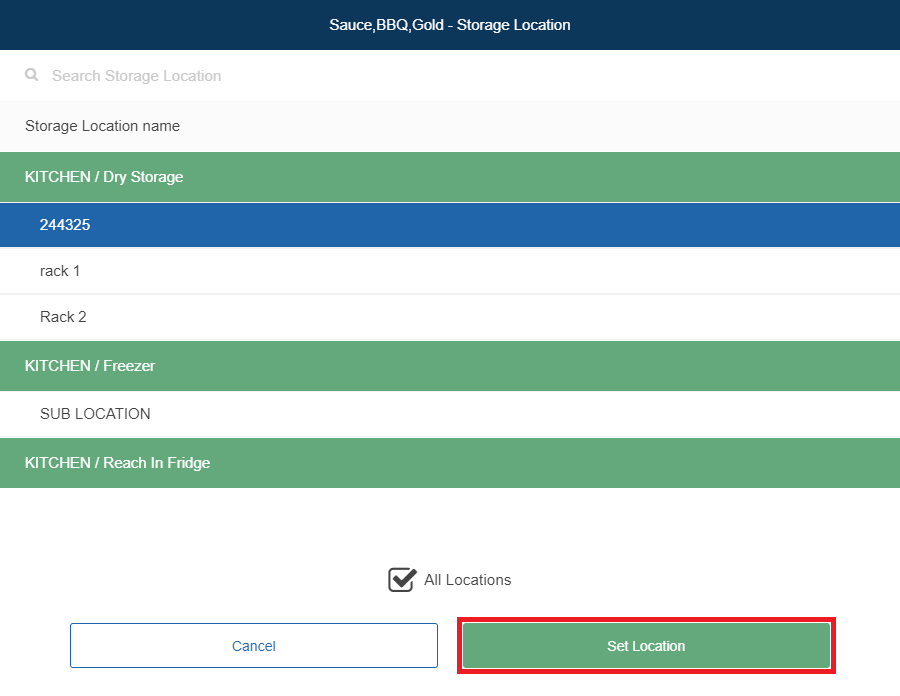
- Click Set Location. The Item Name - Storage Location dialog appears.
Note: The quantity box is filled while inventorying the items directly at the cost center or at the time of delivery. This quantity represents what is delivered to the cost center. As the quantity is filled, the total cost for the delivered item will adjust accordingly. The total requisition cost is the sum of all item total costs on the requisition. If a markup should be applied to a cost center, the total item cost and the total requisition cost will include the markup. A notation will notify you of the markup % applied.To reorder an itemYou can click and drag items to control the layout and the sequence of items on a requisition or a template.
Tip: We recommend that the sequence of items on the requisition or template match the inventory layout in the cost center to help the inventory fulfillment process.To reorder items in a requisition:
- If you are using a desktop computer, click and hold the
 icon and drag the item line into the new position.
 - If you are using a touch screen device, tap and hold the item for at least one second. When the item line turns blue, drag the item into the new position.
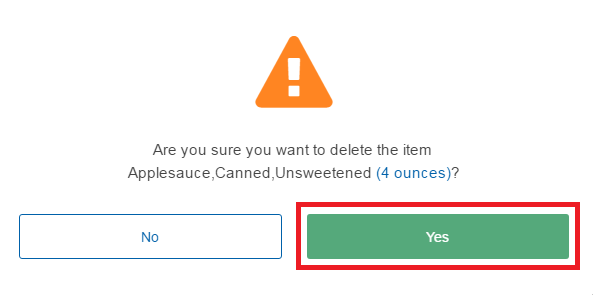
To delete an item- To the right of the item you want to delete, click
 . A confirmation message will appear.
 - Click Yes.
- If you want to add a note to the requisition:
- Click Add Notes. The notes box expands.
- In the notes box, add any notes as needed for the requisition.

- If you want to collapse the notes box, click Hide Notes.
- Click Save.
Note: The requisition date and time boxes default to the current day and time. Be sure to set these appropriately. The requisition date and time should represent the moment that the items are delivered to the specified cost center. This information is important to keep all inventory transactions in the correct time sequence.
Note: Items added using a template will automatically have an issue size and a par level. In addition, any items in the template without quantities (that is, left at 0) will not appear in Delivery Requirements, even though they appear in the requisition. For more information about templates, refer to Requisition Templates.